
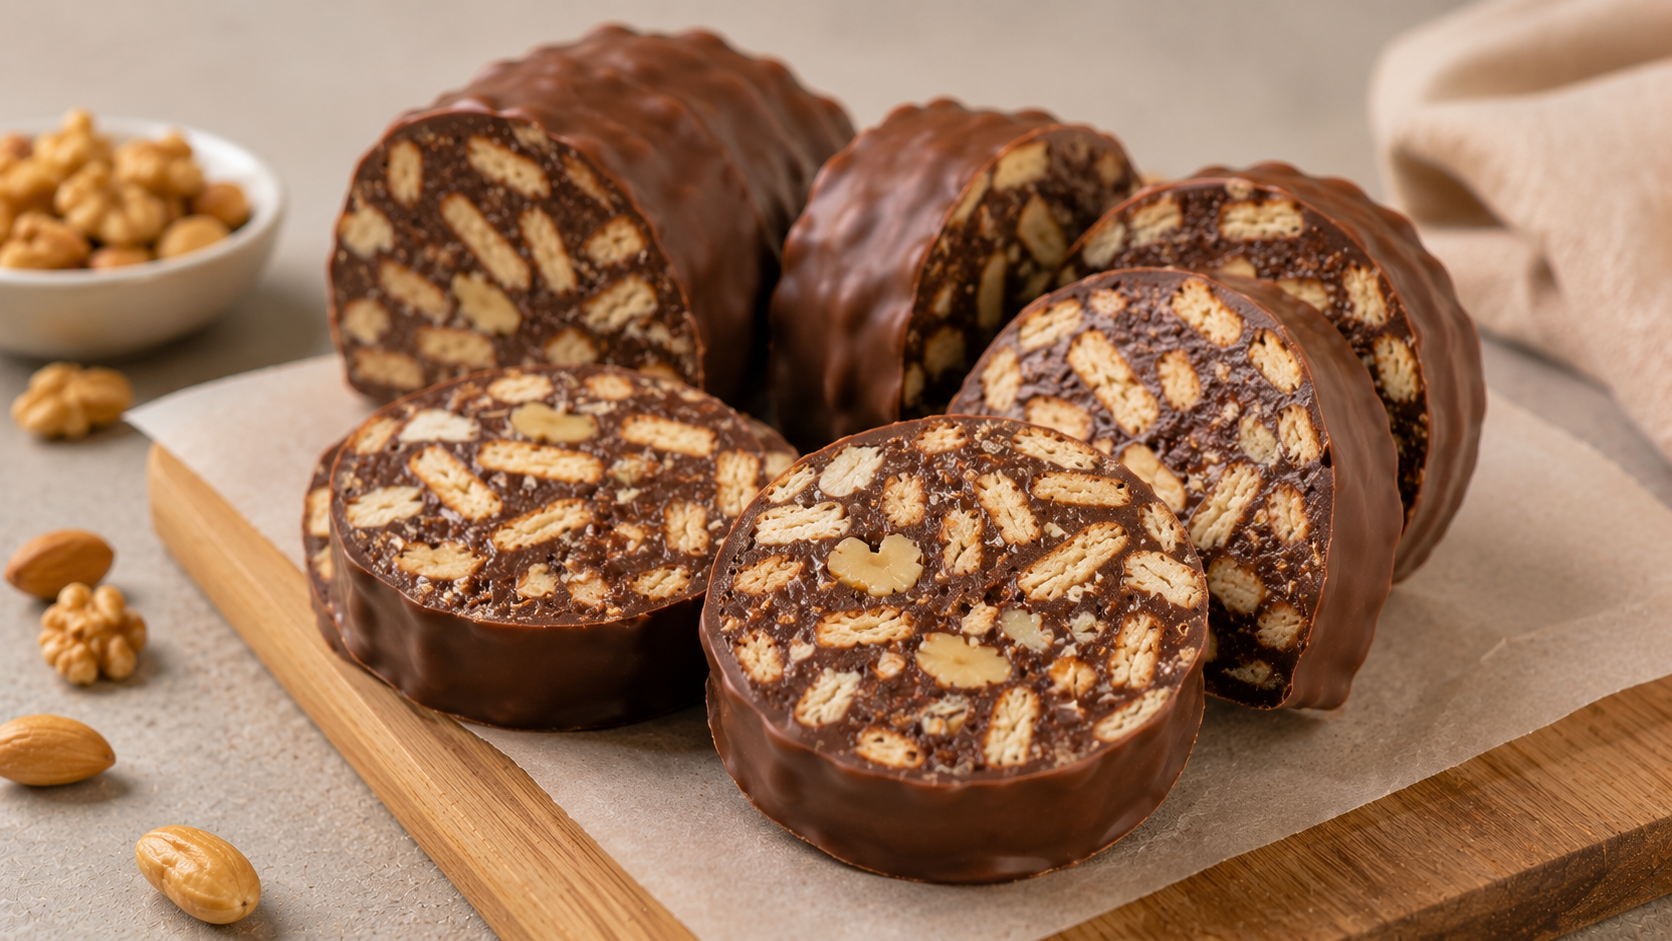
This nostalgic Wagon Wheel slice transforms the iconic childhood biscuit into an effortless, crowd-pleasing traybake that is guaranteed to impress. Whether you are whipping up a treat for a weekend picnic or searching for giant wagon wheel slice recipes to fill your baking tins, this layered masterpiece delivers the perfect combination of crumbly biscuit, sweet raspberry jam, gooey marshmallow, and rich chocolate in every single bite.
Origin Wagon Wheel slice
The original Wagon Wheel biscuit was introduced at the British Food Fair in 1948, created to capitalize on the post-war fascination with the American Wild West. Since then, it has become a beloved lunchbox staple across the UK and Australia, inspiring home bakers to reinvent the classic treat into a convenient, shareable format that ranks among the most popular nostalgic baking adaptations for modern school fetes and bake sales.
Why I Love This Recipe
I love that this recipe delivers all the complex textures of the original biscuit without the fuss of individually cutting and dipping delicate cookies into melted chocolate. By assembling everything in a single baking pan, you save an incredible amount of time in the kitchen, making it one of the easiest family-friendly traybake desserts you can possibly make for a large gathering.
Tips for the Perfect Slice
To achieve those picture-perfect, bakery-style squares without cracking the chocolate topping, you need to use a warm blade when portioning the slice. Simply running a sharp chef’s knife under hot water and wiping it completely dry before gently pressing through the chocolate is a game-changing expert baking technique that ensures beautiful, clean lines every single time.
Also Read : Chicken & Rice Casserole
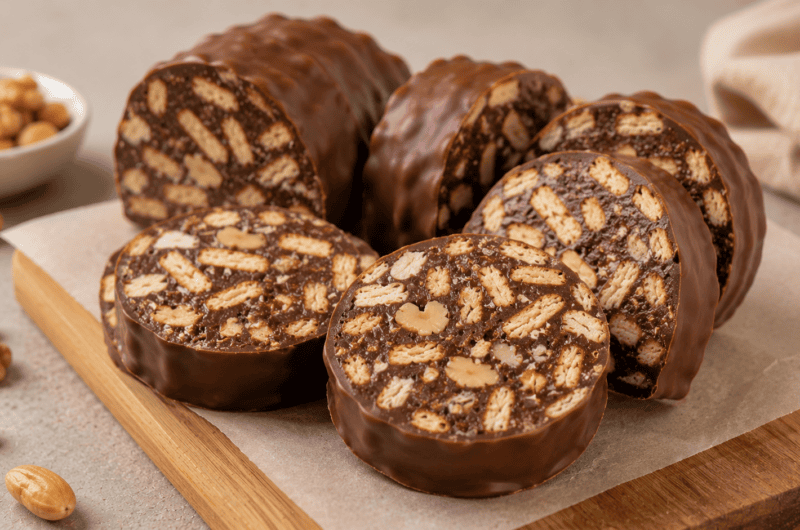
Wagon Wheel slice
16
servings20
minutes20
minutes280
kcalIngredients
1 1/2 cups all-purpose flour (plain flour)
1/2 cup self-rising flour
1/2 cup granulated sugar (or caster sugar)
1/2 cup (1 stick / 115g) unsalted butter, melted
1 l arge egg, lightly beaten
1 tsp vanilla extract
2/3 cup good quality raspberry jam
250 g large marshmallows (pink and white), cut in half horizontally
200 g milk chocolate (or dark chocolate), chopped
1 tbsp coconut oil (or vegetable oil)
Directions
- Preheat your oven to 350°F (175°C). Grease a 9×9-inch square baking tin and line it with parchment paper, leaving an overhang on the sides for easy removal.
- In a large mixing bowl, whisk together the all-purpose flour, self-rising flour, and sugar. Pour in the melted butter, beaten egg, and vanilla extract. Stir until a soft dough forms.
- Press the biscuit dough firmly and evenly into the base of your prepared baking tin.
- Bake the base for 15–18 minutes, or until it is lightly golden and firm to the touch.
- Remove the tin from the oven and immediately spread the raspberry jam in an even layer over the hot biscuit base.
- Arrange the marshmallow halves over the jam layer, placing them close together to cover the surface.
- Return the tin to the oven for 2–3 minutes, just until the marshmallows puff up and soften slightly (do not let them brown). Remove from the oven and gently press the marshmallows down with the back of a wet spoon to create a somewhat even layer. Let the slice cool completely at room temperature.
- In a microwave-safe bowl, melt the chopped chocolate and coconut oil together in 30-second increments, stirring well after each burst until perfectly smooth.
- Pour the melted chocolate over the cooled marshmallow layer, spreading it out to the edges.
- Place the tin in the refrigerator for at least 2 hours, or until the chocolate is fully set. Slice into 16 squares using a hot, dry knife and serve.
Notes
- Slicing trick: Heating your knife under hot water and wiping it completely dry before each cut will melt slightly through the top layer, preventing the chocolate from shattering when you press down.
- Marshmallow alternative: If you cannot find large marshmallows, you can spread 1 ½ cups of marshmallow fluff over the jam instead of baking the halved marshmallows.
- Storage: Store the slice in an airtight container at room temperature for up to 3 days, or in the refrigerator for up to a week.