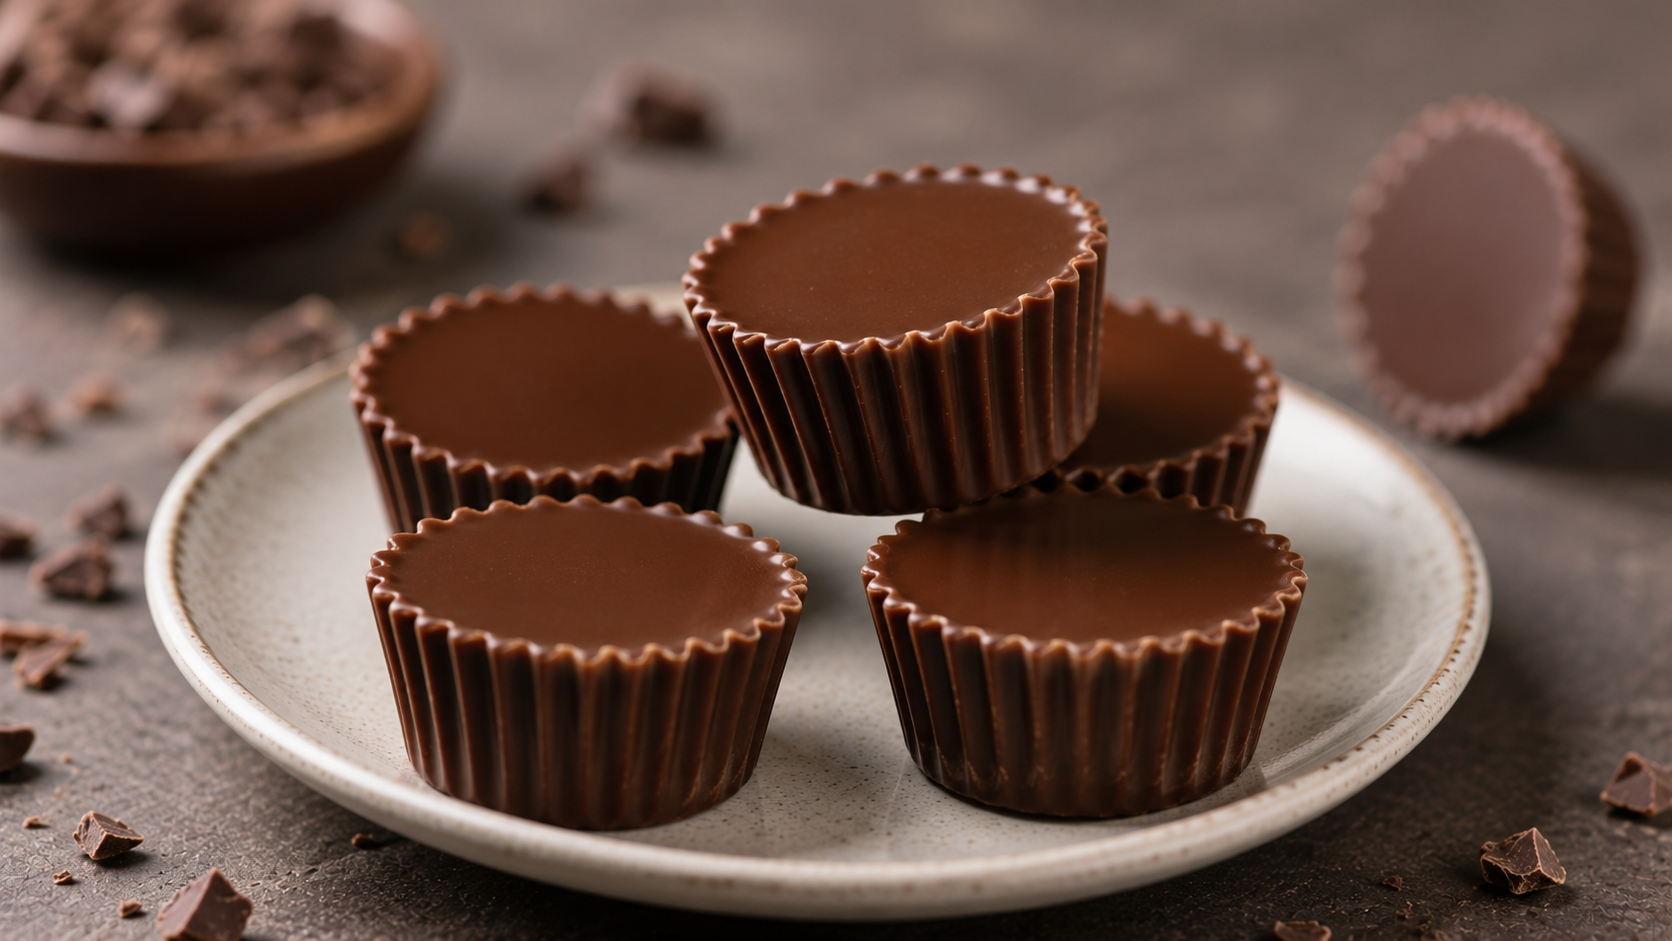
These decadent Chocolate cups are the perfect bite-sized treat for any occasion, offering a rich chocolate shell filled with your favorite creamy centers. Whether you are mastering how to melt chocolate perfectly for a glossy finish or simply looking for easy party desserts to impress your guests, these customizable cups are a guaranteed hit.
Origin Chocolate cups
The concept of molding chocolate into edible vessels dates back to the widespread availability of high-quality tempered chocolate in 19th-century Europe. As the history of chocolate making evolved, transitioning the ingredient from a bitter beverage to a moldable confection, pastry chefs began crafting these solid chocolate shells to serve everything from rich mousses to fresh fruit in an elegant, completely edible package.
Why I Love This Recipe
I love how simple yet impressive this recipe is, requiring only a few ingredients and basic kitchen tools like silicone molds or paper muffin liners. You can customize them endlessly by filling the centers with anything from peanut butter to espresso cream, making them a fantastic option for anyone exploring fun homemade candy recipes without needing special equipment.
Also Read : Besan Chilla
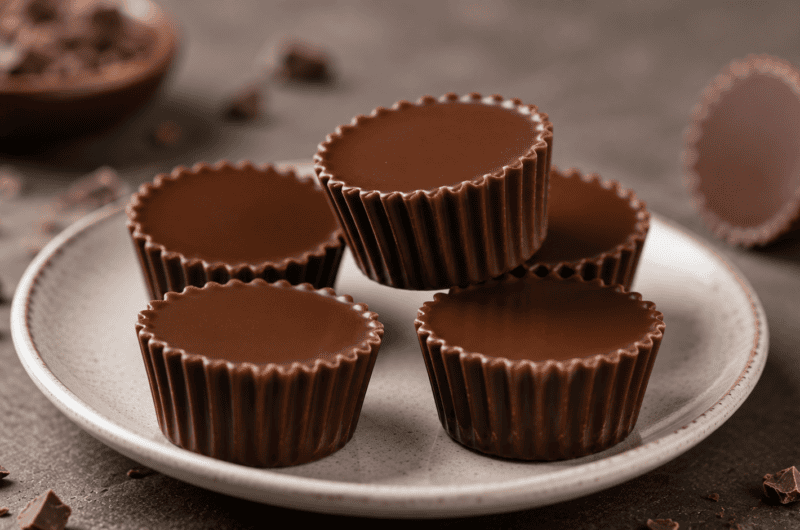
Chocolate cups
12
servings20
minutes0
minutes150
kcalIngredients
12 oz high-quality semi-sweet chocolate chips (or finely chopped baking chocolate)
1 tbsp coconut oil (optional, for smoother melting)
1 cup of your favorite filling (e.g., peanut butter, caramel, or whipped mousse)
Flaky sea salt (optional, for garnish)
Directions
- Line a mini muffin tin with paper liners or place a clean silicone cup mold on a baking sheet.
- In a microwave-safe bowl, melt the chocolate and coconut oil in 30-second intervals, stirring thoroughly between each burst until the mixture is completely smooth and glossy.
- Spoon a small amount of the melted chocolate into the bottom of each cup. Use a small pastry brush or the back of a spoon to drag the chocolate up the sides of the liners, creating a thick, even shell.
- Place the tin in the refrigerator for about 10–15 minutes until the chocolate shells have completely hardened.
- Add a small spoonful of your desired filling into the center of each hardened cup, making sure to leave a slight gap at the top.
- Spoon the remaining melted chocolate over the filling, spreading it gently to seal the cups.
- Top with a sprinkle of flaky sea salt if desired, then return to the fridge for another 15–20 minutes until completely set before peeling off the wrappers.
Notes
- If your remaining chocolate gets too thick to pour while you are waiting for the shells to chill, gently reheat it in the microwave for 10 seconds.
- Store your finished chocolate cups in an airtight container in the refrigerator to prevent melting, especially in warmer climates.
- For a beautiful presentation, try swirling a little melted white chocolate into the dark chocolate right before the final chill.