
There is nothing quite like a cold, crunchy, perfectly seasoned pickle to take a classic hamburger or deli sandwich to the next level. Let’s be honest, though: they are also the ultimate midnight snack right out of the jar. But biting into a limp, flavorless pickle is incredibly disappointing, which is exactly why I started making my own.
Achieving that flawless, crunchy spear is unbelievably simple with this easy refrigerator pickles recipe. I have honed a method that requires a mere 20 minutes of active prep time and happens to be completely gluten-free. After chilling in the fridge for a day, they develop that signature zesty snap that will have you reaching for the jar again and again.
Why I Love Making These
- Zero Canning Required: The best part of this recipe is that we get to skip the tedious process of traditional canning and food preservation. You don’t need a boiling water bath or special tongs—just a clean glass jar and your fridge!
- Lightning-Fast Prep: It takes about 20 minutes to slice the veggies and simmer the brine. After that, your refrigerator does all the heavy lifting.
- Unbeatable Crunch: This quick-brine technique guarantees a fresh, crisp texture every single time, especially when you use the right type of small cucumbers.
- Totally Customizable: You can easily tweak the flavor profile. Throw in extra garlic, heavy handfuls of dill, or a sliced jalapeño to make them your own without messing up the base recipe.
Health Benefits
Cucumbers are naturally packed with great nutrients like Vitamin K, Vitamin C, Vitamin A, and potassium. By preserving them at peak freshness, you lock in those benefits. Plus, these easy refrigerator pickles are a fantastic low-calorie, low-carbohydrate snack (clocking in at just about 20 calories per quarter-cup). While the brine does add sodium, they remain a wonderful, healthy option when you are craving something savory and crunchy.
Ingredient Notes And Substitutions
- Cucumbers: Small varieties like Kirby or Persian cucumbers are ideal here. They feature thin skins and fewer seeds, and they fit perfectly into a standard jar without needing much trimming. If you can only find standard slicing cucumbers, just cut them down into smaller spears.
- Distilled White Vinegar: I strongly prefer the sharp, clean bite of standard white vinegar over apple cider vinegar for this specific recipe, as it doesn’t muddy the classic pickle flavor.
- Kosher Salt: Using kosher salt is important because it dissolves easily and lacks the iodine found in table salt, which can negatively alter the taste and color of your pickles. If you must use fine sea salt, reduce the measurement slightly.
- Water: Simple cold tap or filtered water is used to dilute the sharp vinegar base.
- Cane Sugar (Optional): Just a half-teaspoon takes the harsh acidic edge off the vinegar without turning these into sweet bread-and-butter pickles.
- Garlic: Freshly peeled and sliced cloves are infinitely better than garlic powder here. Feel free to add an extra clove if you are a garlic fanatic.
- Peppercorns: Whole black peppercorns bring a lovely, mild spice. You can also toss in some mustard seeds for extra zing!
- Fresh Dill: Always opt for fresh dill sprigs for the most authentic flavor, though dried dill weed will work in an absolute pinch.
How To Make Refrigerator Pickles (Step-By-Step)
Whipping up a batch of homemade pickles takes just a few easy steps:
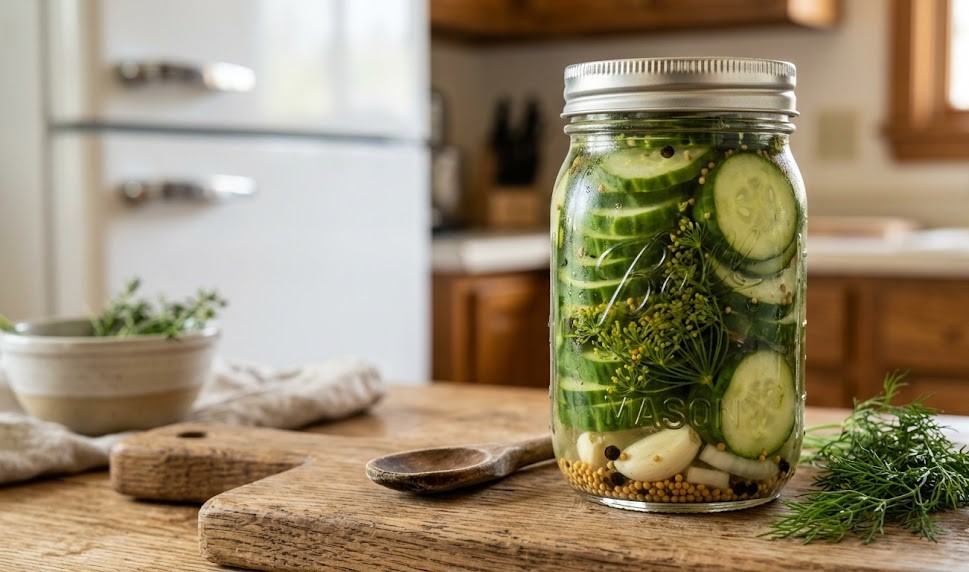
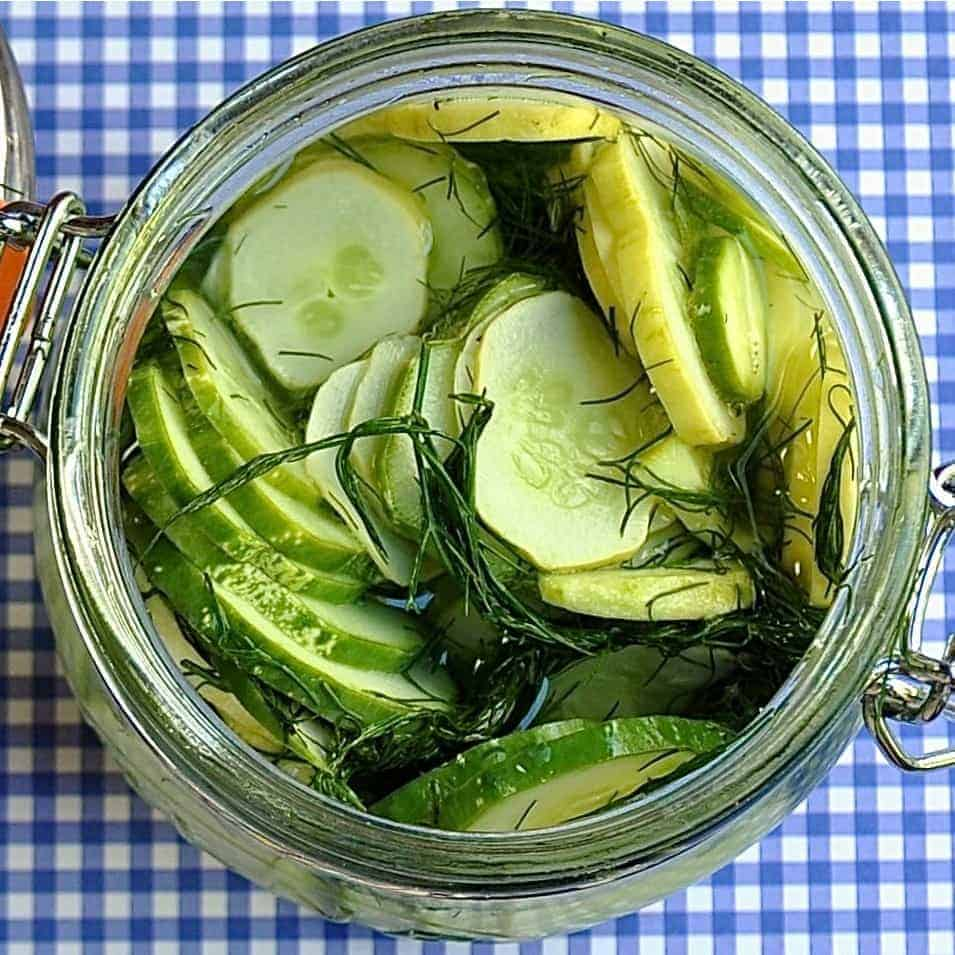
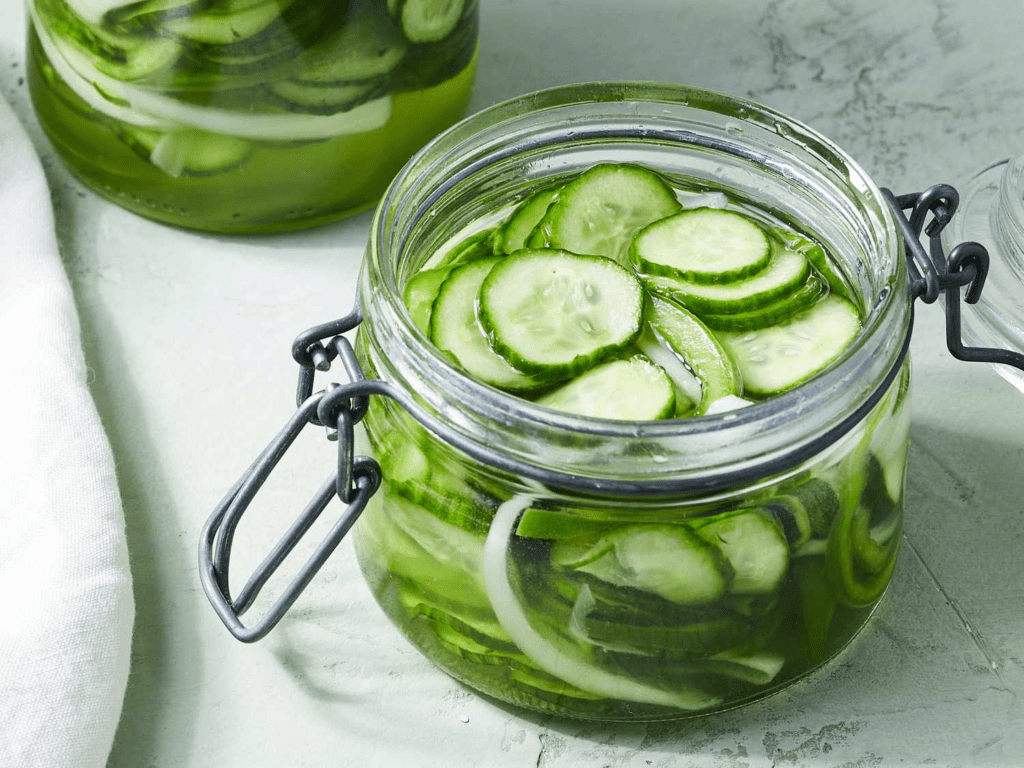
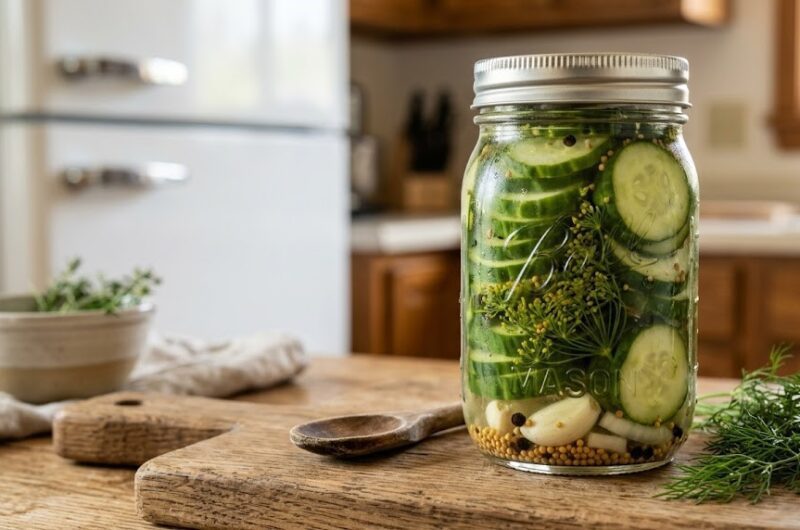
Step 1: Make the brine. In a small saucepan over medium-high heat, combine your vinegar, salt, and sugar. Stir the mixture until the granules have completely dissolved, bring it to a gentle simmer, then take it off the heat. Stir in the cold water and peppercorns. Step 2: Prep the cucumbers. Wash your cucumbers thoroughly to remove any dirt or wax. Be sure to slice off both ends; the blossom end contains specific enzymes that can cause your pickles to turn mushy! Step 3: Slice the cucumbers. Cut them into evenly sized long spears or standard 1/4-inch round chips. Step 4: Add aromatics to the jar. Drop your fresh dill and sliced garlic cloves into the bottom of a clean, wide-mouth quart jar. Step 5: Pack the cucumbers. Tightly pack your cucumber slices or spears into the jar over the aromatics, leaving about a half-inch of space at the top. Step 6: Pour in the brine. Carefully pour the warm liquid brine over the cucumbers until they are entirely submerged. (If you need a little more liquid, just top it off with cold water). Step 7: Chill and wait. Twist the lid on tightly and put the jar in the fridge. Let them sit for at least 24 hours to absorb the flavors before eating!
Expert Flavor Tips: Make it Spicy: Love some heat? Drop a few slices of fresh jalapeño, a heavy pinch of red pepper flakes, or a bay leaf into the jar before pouring the brine. Make it Sugar-Free: You can completely omit the sugar if you prefer a strict, zero-sugar diet. The vinegar bite will be slightly sharper, but the pickles will still be wonderfully crisp.
Enjoy Plain Or Serve With Favorite Recipes
I frequently find myself eating these straight from the fridge because the crunch is just too satisfying. However, they are also a brilliant addition to salmon salads, chopped up into homemade chicken salad, or layered into a hearty wrap for your weekly meal prep!
How Long They’ll Last
Because these are quick-pickled and not canned, they must be stored in the refrigerator. They will stay fresh, crunchy, and safe to eat for up to one full month. They usually get eaten long before that, so I highly recommend making a double batch!
FREQUENTLY ASKED QUESTIONS
What is the difference between fermented pickles and quick pickles? Fermented pickles sit in a saltwater brine at room temperature for weeks, relying on natural bacteria to create their tangy flavor (which also provides probiotics). Quick pickles (like this recipe) use a vinegar bath to instantly create that tangy flavor and are ready in just 24 hours.
Are all pickles made from cucumbers? Nope! The term “pickling” refers to the preservation process, not the vegetable. You can use this exact same brine method to quick-pickle red onions, carrots, beets, or green beans!
Can refrigerator pickles be canned for longer storage? No. This specific recipe does not contain a high enough ratio of vinegar (acidity) to be safely processed in a hot water bath for pantry storage. They must remain refrigerated.
Should I give my pickles a water bath? Definitely not for this recipe. Boiling these quick pickles in a water bath will completely cook the cucumbers and ruin their crunchy texture.
What is pickling solution? In industrial terms, a “pickling solution” is a strong chemical acid used to remove impurities from metals. When cooking, you want to refer to this as a “pickle brine” or “pickling liquid” so you don’t mix up your terminology!
ALso Read : Horchata
Refrigerator Pickles Recipe
Course: Recipes16
servings20
minutes3
kcalIngredients
1 lb small cucumbers (Persian or Kirby varieties work best)
1/2 cup distilled white vinegar
1 tbsp kosher salt (or substitute 1 ½ tsp fine sea salt)
1/2 tsp cane sugar (optional, to balance acidity)
1/2 tsp whole black peppercorns
1 cup cold water
2 to 3 fresh garlic cloves, peeled and sliced
Handful of fresh dill sprigs
Directions
- Simmer the Brine: Place a small saucepan over medium-high heat. Add the white vinegar, kosher salt, and cane sugar (if using). Stir occasionally and heat just until the salt and sugar granules have completely dissolved.
- Finish the Brine: Remove the saucepan from the heat. Stir in the cold water and the black peppercorns. Set the liquid aside.
- Prep the Cucumbers: Wash your cucumbers well and pat them dry. Trim a tiny 1/16-inch slice off both the stem and blossom ends of each cucumber (this prevents them from getting mushy). Slice them lengthwise into spears, or horizontally into 1/4-inch coins.
- Fill the Jar: Place the fresh dill sprigs and sliced garlic cloves into the bottom of a clean, wide-mouth quart-sized mason jar. Pack the sliced cucumbers tightly into the jar over the herbs.
- Pour and Chill: Pour the prepared brine over the cucumbers, ensuring they are completely submerged. (Top with a splash of extra cold water if needed). Secure the lid tightly and place the jar in the refrigerator.
- Wait: Let the pickles chill in the fridge for at least 24 hours before eating so the flavors can develop.
Notes
- Trimming is Key: Do not skip cutting off the blossom end of the cucumber. It contains an enzyme that will make your pickles soft and soggy!
- Spice it Up: Add a sliced jalapeño, some red pepper flakes, or coriander seeds to the jar before pouring in the brine for a spicy kick.
- Storage: Keep the jar tightly sealed in the refrigerator. These pickles will stay fresh and crunchy for up to 1 month.

